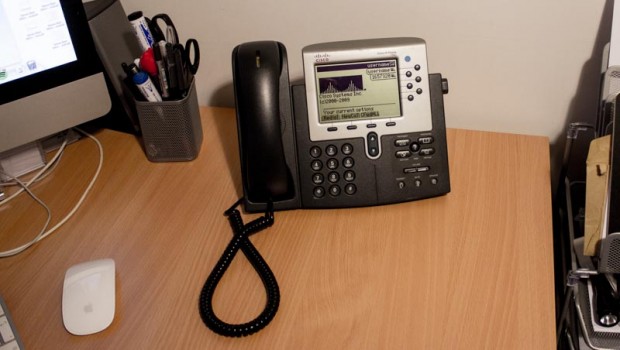
Configuring Cisco 7960 for SIP Service
This week I bought myself a Cisco 7960G IP phone with the intention of connecting it to my Blueface and sipgate accounts. Being a Power over Ethernet (POE) phone I made the assumption that it would work with my Netgear GS108P POE Switch. However I was wrong, plugging the phone into the switch nothing happened. A little bit of digging, I discovered that the Cisco 7960 is a pre-standard PoE device and does not work with the IEEE 802.3af POE standard. So another quick trip to eBay I bought myself a power cube and off I went.
Configuring the phone was a bit tricky, but this it what I did to get it working. First you have to make sure that you are running the SIP Firmware. This can be downloaded form the Cisco Website (Cisco SIP IP Phone 7940/7960 Software) which is only available to registered customers.
If you have the SIP firmware running, the following are the steps that I took to configure my Cisco 796o with a my Blueface account.
Unlock the Phone
Before you can make any configuration changes to the phone you will have to unlock the config.
- Press the Settings button
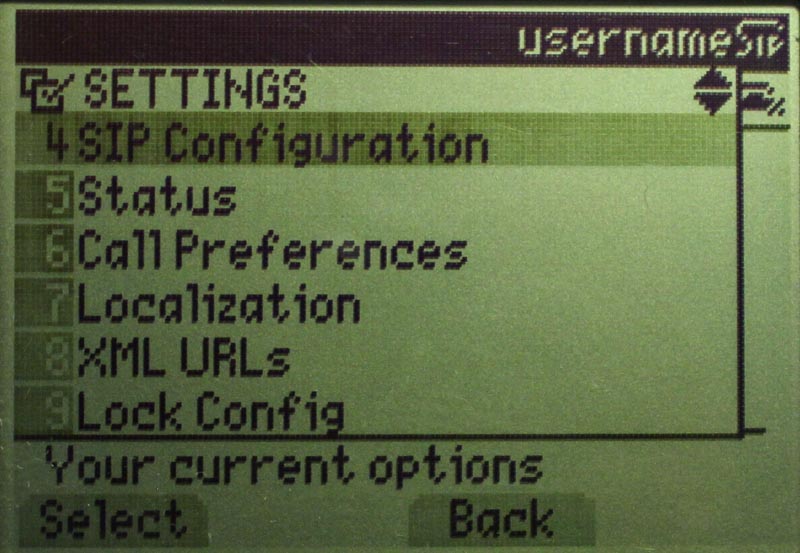
- Using the navigations keys scroll down to 9 Unlock Config and press the Select soft key
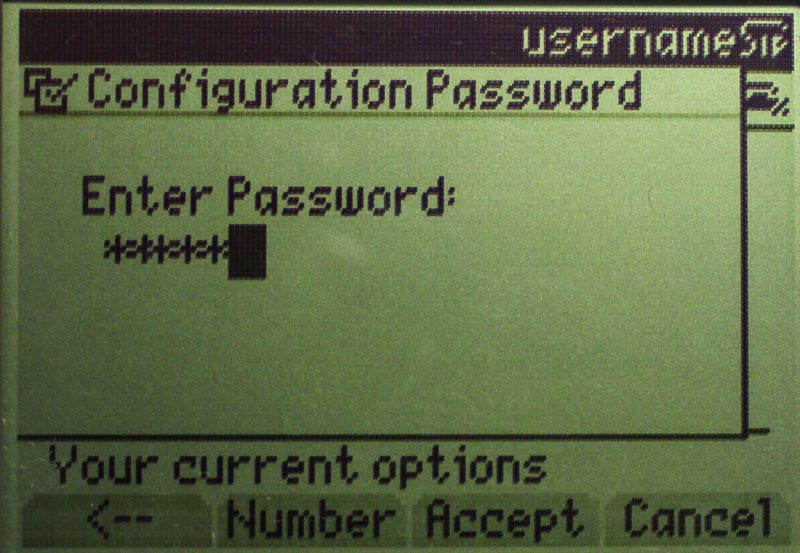
- Using the keypad enter the password, the default password is cisco and press the Accept soft key
Edit the SIP Configuration
Edit the Line settings to define your VoIP / SIP Provider details
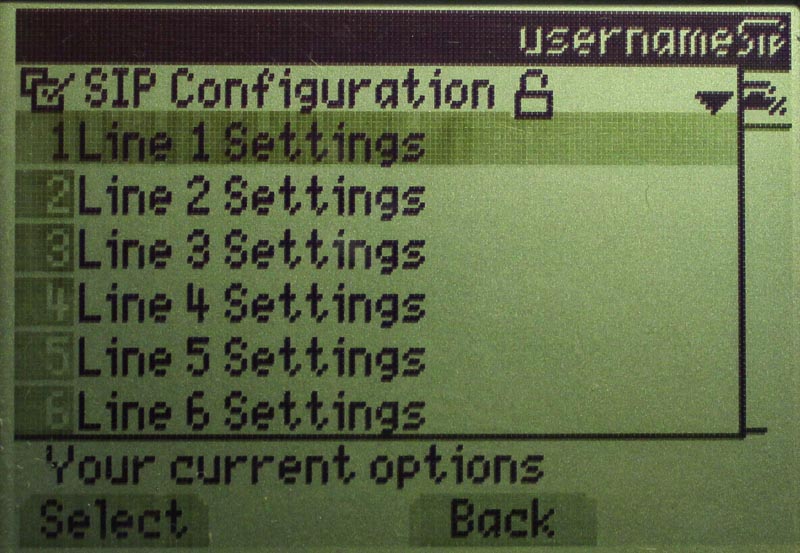
- Using the navigations keys scroll up to 4 SIP Configuration and press the Select soft key
- Highlighting 1 Line 1 Settings press the Select soft key
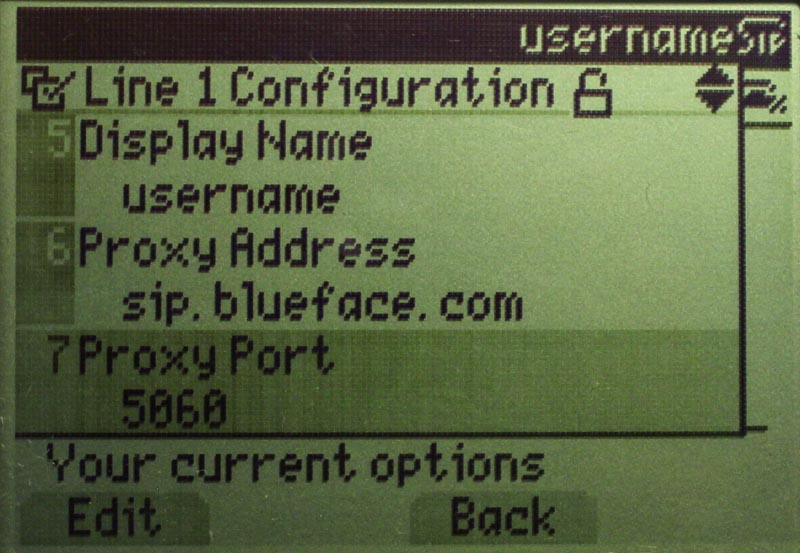
- Under the Line 1 Configuration Screen, enter the following details:
Name: <your SIP username>
Shortname: <your SIP username>
Authentication Name: <your SIP username>
Authentication Password: <your SIP password>
Display Name: <your SIP username>
Proxy Address: <your SIP Provider proxy address>
Proxy Port: <your SIP Provider port> (usually 5060) - Once you have entered your details press the Save soft key
- Press the Back soft key
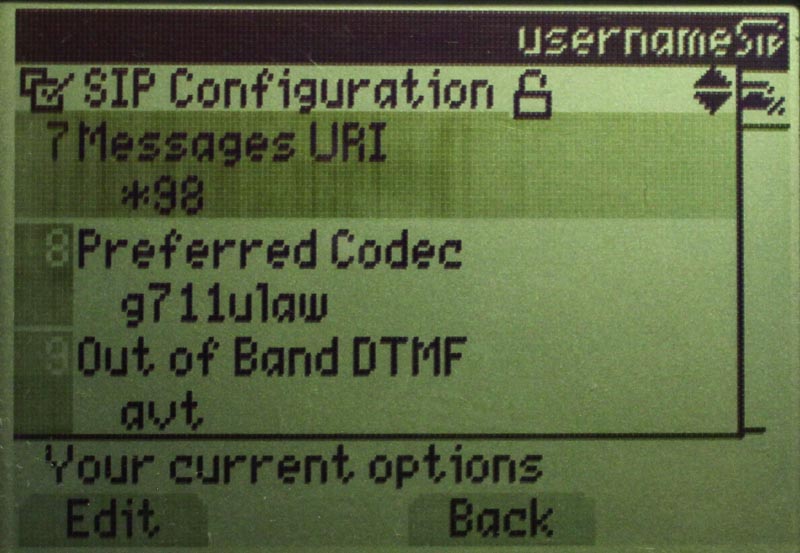
Setup NAT and Register with Proxy
- Back in the SIP Configuration Screen, use the navigation key to scroll to 7 Message URI and change this to *98.
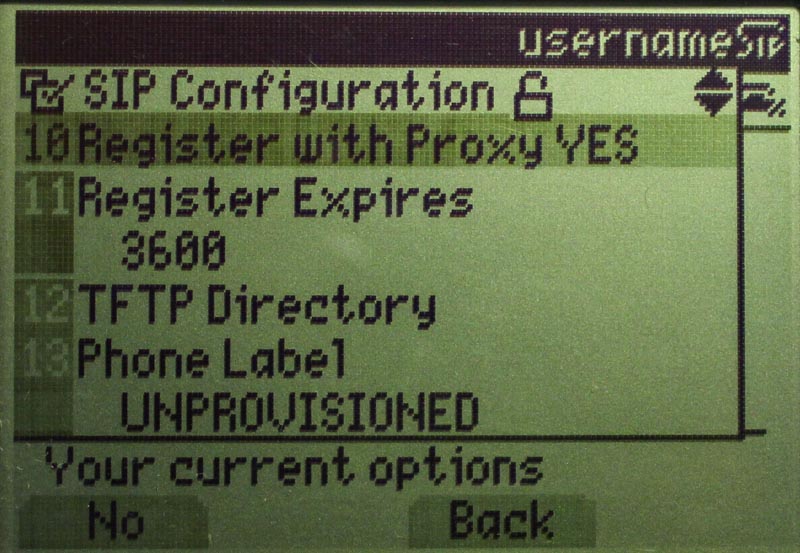
- Scroll down to 10 Register with Proxy and change to Yes.
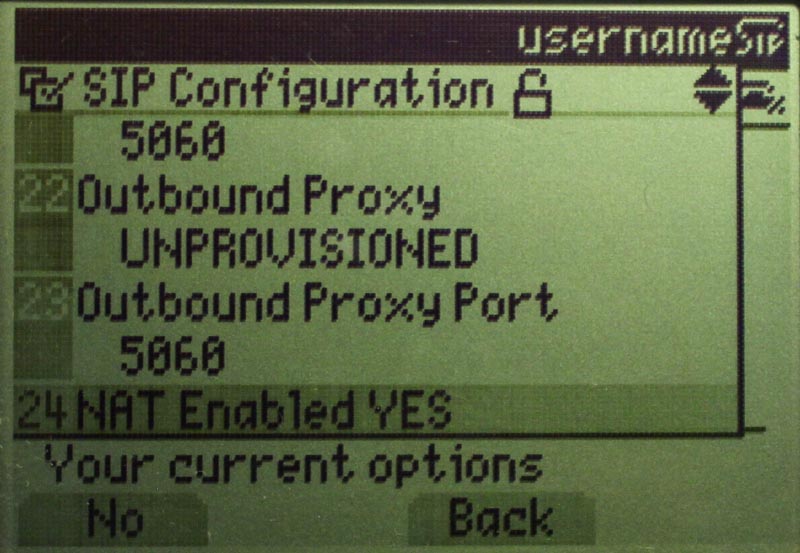
- Scroll down to 24 NAT Enabled and change to Yes.
- Press the Save softkey to apply the changes.
Your phone should now register with your SIP Provider, however I have on occasion found it useful to a reboot (pull the power cable, wait 5 seconds and plug it in again).
This will ensure that the phone registers correctly.


About the Author
Kieran has worked with computers and technology for over 20 years. Based in the United Kingdom, he works as a Solution Engineer for Salesforce, specialising in all things Commerce, Digital and the Internet. Predominantly blogging on KieranLane.com he can also be found on Twitter @KieranLane, Instagram and Flickr.


One Response to Configuring Cisco 7960 for SIP Service