
Uninstalling Internet Explorer 10 from Windows 2008
Internet Explorer 10 has a sneaky habit of installing itself, especially if you have automatic updates enabled. Here are a few simple steps you can follow to remove IE 10, and downgrade back to IE 9 or IE 8 in Windows Server 2008. The same instructions will work for Windows Server 2008 R2 and for Windows 7.
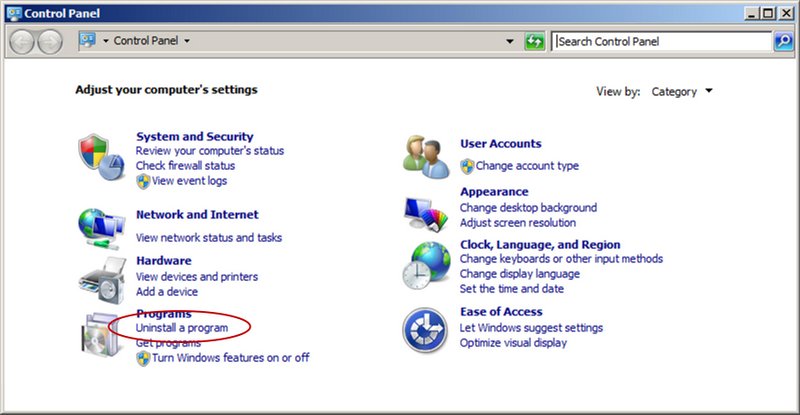
1. Click on Start > Control Panel.
2. Under Programs, click Uninstall a Program.
3. In the Uninstall or change a program screen, click View installed updates.
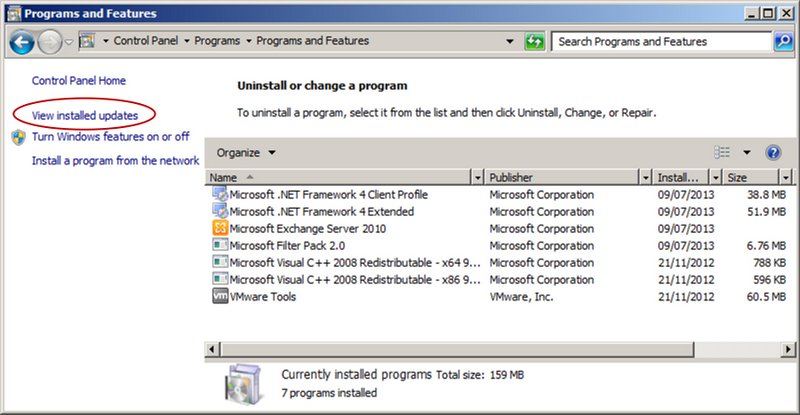
4. in the Uninstall an update windows, either type Internet in the search or scroll to Microsoft Windows and look for Windows Internet Explorer 10. intofw Undet the

5. Click on Windows Internet Explorer 10 and click Uninstall.

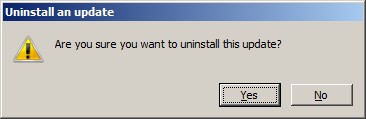
6. When prompted, click Yes to acknowledge that you wish to proceed.
7. Once Internet Explorer has been removed, you will be prompted to restart. Click Restart Now to complete the process.
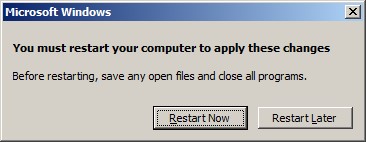
Once your server has restarted, you should be back running either IE 8 or IE 9 depending on what what installed on your system before IE 10.
About the Author
Kieran has worked with computers and technology for over 20 years. Based in the United Kingdom, he works as a Solution Engineer for Salesforce, specialising in all things Commerce, Digital and the Internet. Predominantly blogging on KieranLane.com he can also be found on Twitter @KieranLane, Instagram and Flickr.
Related Posts
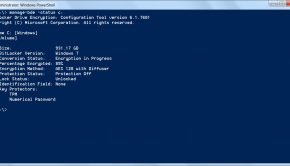
Check Bitlocker Encryption Status →
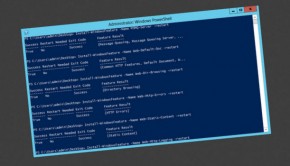
Installing RightFax Express Prerequisites using Powershell →

Resetting Administrator Password in Windows 2012 →


One Response to Uninstalling Internet Explorer 10 from Windows 2008